As we all know that Google Chrome is the fastest browser in the world for Personal Computers but some people prefer Mozilla Firefox. So, if you are a Firefox user then you must look why most of the people prefer Chrome. It is because of its highly tweaked JavaScript processing speed, supports 3rd party extensions and also provide 15 GB cloud storage via Google Drive.
Oh, sorry. I am writing this post on making Google Chrome fast and I'm favoring it better than Firefox. :) Nevertheless, we will see below about it.
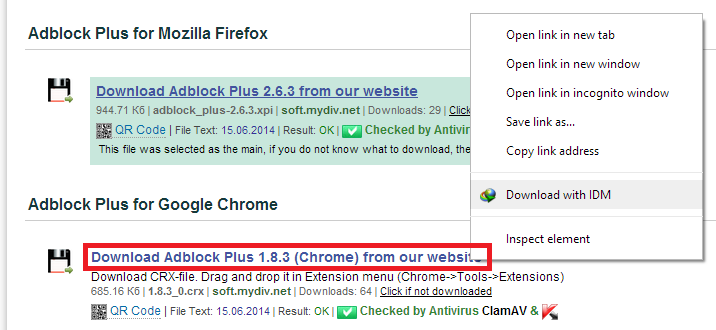
If you are using the latest version of Google Chrome i.e. 37.0.2062.124 then you must have experienced slow opening of Google Chrome(application) because of inbuilt Google homepage on first screen. This makes Google Chromes's opening slow. This homepage was not their in earlier versions. So to remove this issue of slow launching of Chrome, we must downgrade to the earlier version of Chrome. In earlier version of Chrome, Chrome Store won't let you download extensions but don't worry, you can download the extension.crx file and install them manually. So, if you wanna make Chrome fast then read below.
How to make Google Chrome fast
1. First, if you have Chrome installed then uninstall it via Control Panel. You know na, how to uninstall it? I know, you know. Just kidding :)
2. Now download old version of Chrome from my Google Drive account -
Google Chrome 27
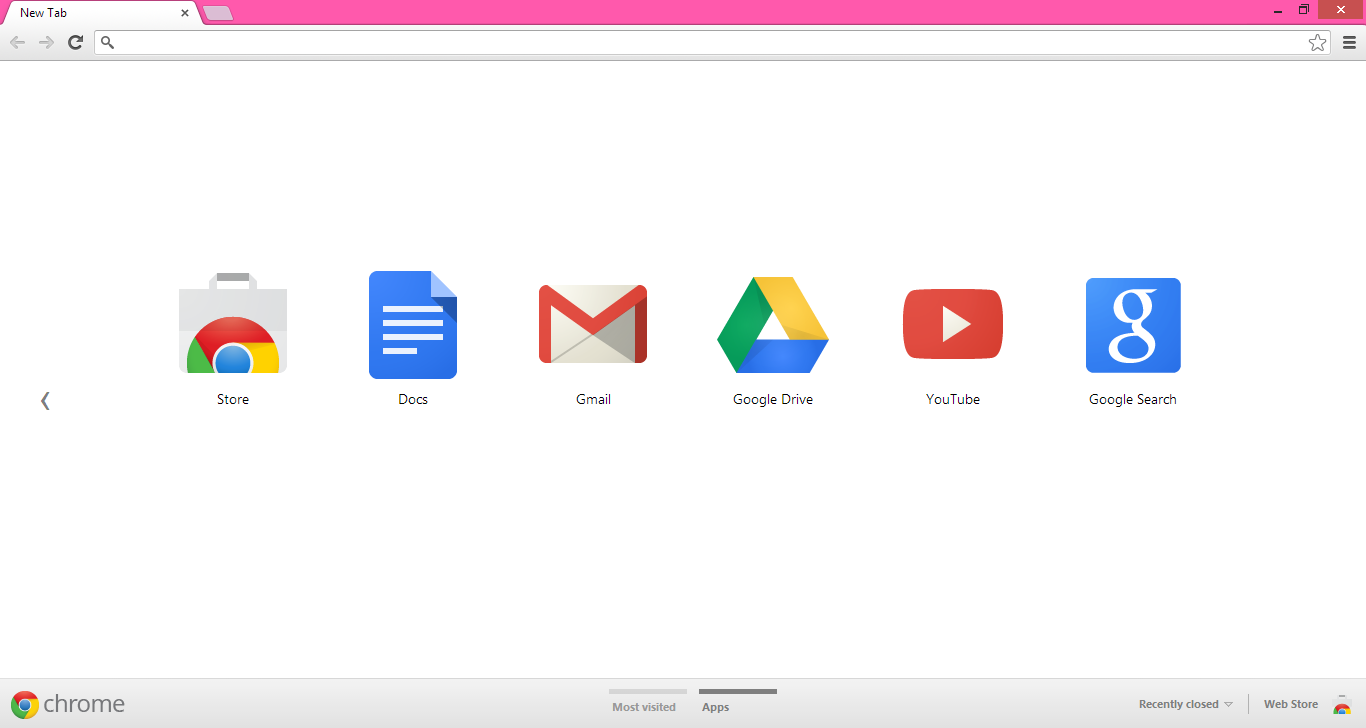
3. Install it and open it. You will see like this.
4. If you have user account linked with Google Chrome then delete it or it will show an error. Delete that user account in settings as I shown below.
5. Now, again sign-in with your Gmail account to get you bookmarks and history back.
How to disable auto-update of Chrome
If you are using the older version then Chrome has ability of updating on its own without your permission. Then again it will become slow if it gets to the new version. So, we must disable the auto-update function.
2. Type gpedit.msc in search. It varies in Windows 7 and 8.1. I'm on Windows 8.1
3. Right click on 'Administrative Templates' and click on 'Add/Remove Templates' option.
4.You will get this. Click on 'Add' button and select the GoogleUpdate.adm file which you downloaded earlier.
5. Close it. Expand 'Administrative Templates'. Expand all until you see Google Chrome. Follow these sequence.
Classic Administrative Templates > Google > Google Update > Application.
6. Click on 'Google Chrome' and Right click on 'Update Policy Override' and 'Edit'.
7. A window will open. Choose 'Disabled' to disable auto-update of Chrome.
Woah !! Long story right. It ain't finished yet. Part 2's link is below.


.png)
.png)
.png)
.png)
.png)
.png)
.png)
.png)


